
How to Make Simple Cupcake Bouquet
Before you start making this easy-peasy-quicky project, you might want to have a quick visit to a Pound shop..a dollor shop or anything like that just to get few things:
- At least 7 small plastic cups (think about the size of your cupcake) Note: Don’t worry if they are silightly bigger
- Paper plates
- Tape
- Scissors
- Coloured Paper (some call it Japanese Paper, Coloured Tissue Paper but you can get specialty paper, gift wrapper, or that wrapper they use for floral bouquets-you can be creative here!)
- Matching ribbon (of course!)
When you have gathered all these, let’s start!  [AdSense-C]
- Join your cups to make your base. DO NOT use stapler guys! You do not want to get in trouble in case that comes off and it goes to your cupcakes. So just use tape and join the cups. Put tapes on the brim and all around the side too.
- Put rolled tape all over the sides and underneath to secure the bouquet base to the paper plate. You can double (or triple even) the paper plate to make it more sturdy. This will make the base to have a flat surface so that you can easily lay it flat on any surface.
- Cut 2pcs of your chosen paper into a big square (you can cut the edges in to scallops or use pinking shears to do this) and lay them like 2 diamonds then cover your base with your chosen paper and tie with a nice complementing ribbon.
- Cut 14-20 pieces 8x8in to 10x10in square of your chosen colour.
- Take 2 pcs again and make them into a diamond before placing inside each cup. This will prevent your cupcake from sinking in and covers up the cups.
- Carefully place your beautifully decorated cupcakes one by one.
That’s how easy it is! All the materials are very affordable but this is such a great way to display your cupcakes other than a typical box. In this way, you would be able to also to increase the price of your cupcakes because of the lovely presentation. Who doesn’t want that?? 🙂 BUT, if you have some plastic leaves or foliages, you may be able to insert them in between the cups to make it even more beautiful!..and make it look more expensive! Therefore, if your customer has a low budget, NO leaves, with budget, WITH leaves! :p You can also maybe throw in a free dedication card placed on a card holder like these. Below are some options for you 🙂 
 Here is a beautiful bouquet we did from our first book, The Contemporary Buttercream Bible. (Please don’t forget to check out our other books too!)
  Tutorials on how to pipe these flowers are in all our books too. Another way of making a bouquet is by using a pot and styrofoam like this which you will see on our first book as well.
  [AdSense-C]
Please make sure to keep checking our blog, and subscribe to our Mailing List (found on the right bar) so you won’t miss anything..OR visit our YOUTUBE channel and make sure to Subscribe also. We hope you like it. Feel free to share this post to help others too 🙂
Buttercream love, Valeri & Christina
Tag:Blog, Flower Piping
You may also like

Why You Should NOT Overbeat
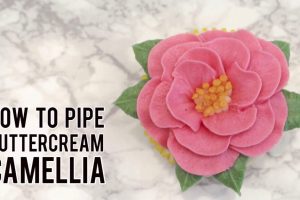
How to Pipe Buttercream Camellia
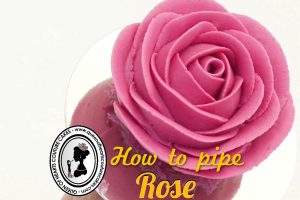
How to Pipe Buttercream Rose
Leave A Reply
You must be logged in to post a comment.
8 Comments
Hello. I am not sure how u r taping the cups together. I want my bouquet to look very professional. Would u please help me with this? Also, do u recommend getting the paper from a Florist? Thank u. Nancy
Hi, taping them with clear tape should be ok. Florist tape is not meant for taping the cups together. You can cover up the cups and tapes by making securing the decorative paper on the cups with rolled tape underneath.
Hello, can you use a hot glue instead of tape?
Yes you definitely can 🙂
Hi, Do you have a video that you show how to do it?
Hi Brenda, we have some youTube videos that you can check out. We are at https://www.youtube.com/user/queenofheartsCC/
I love it
Hi. I’m just wondering once you have made a bouquet do you box it to give to customers? I worry if it’s raining the cakes will get ruined but also if boxed I’m afraid of damaging them.